

How to fix your 11’s WITHOUT Botox
Disclaimer: As an Amazon Affiliate, I earn commission from qualifying purchases. Being an affiliate does not impact my suggestions or opinions - I only recommend products that I love or am going to try myself.Hey, y’all!
So, you’re worried about your 11’s or other fine lines on your forehead. You may think the only option is botox and possibly fillers. Well, you know my cruchy-self is going to tell you about a different option that doesn’t include pumping your face with neurotoxins and is only a fraction of the price…BUT, before we get there, let me fill you in on WHY I decided to skip the needle.

Botox is not a toy. It's a powerful neurotoxin that can cause serious side effects if it's not used properly. Some people have experienced difficulty swallowing, speaking, or breathing after getting Botox injections. I’ve also seen photos where the consumer didn’t follow after care directions after the procedure and their face drooped to one side which lasted almost 6 weeks. So if you're thinking about getting Botox, make sure you choose a reputable provider who has experience with the procedure.
Botox is not cheap. The initial Botox session is easily a few HUNDRED dollars, and you'll likely need multiple treatments to maintain the desired effect. So if you're thinking about getting Botox, make sure you have a couple thousand dollars lying around, or you might end up with a frozen face and a broken bank.
Botox is not a magic bullet. It can't fix everything, and it's not a substitute for good skincare, a healthy lifestyle, and a positive attitude. So if you're thinking about getting Botox, make sure you're doing it for the right reasons and that you have realistic expectations about the outcome.
Botox is not for everyone. Some people should not get Botox, including pregnant or breastfeeding women, people with certain medical conditions, and people who are allergic to the ingredients in Botox. So if you're thinking about getting Botox, make sure you talk to your doctor first and find out if it's right for you.
So, what other option is out there?
Soooo, there is something out there that can help those 11’s WITHOUT the pain of a needle? Yup! Frownie’s Facial Patches. You may be thinking, “What in the world? Nikita has done lost her mind…” LOL. I get it. When I first came across these on Instagram, my initial thought was, “No freaking way that works.” At less than $24 per month, I decided to do my first “30 day Challenge” to find out for myself.

First, let me tell you how they work: Your face is full of muscles just like the rest of your body. Over the years, you have trained your facial muscles to lay a certain way due to the facial expressions you make. The Frownie’s Facial Patches basically create a cast that you wear overnight (or during the day - whatever works best for you), retraining your facial muscles to relax and smooth themselves out over time. Pretty cool, huh?!
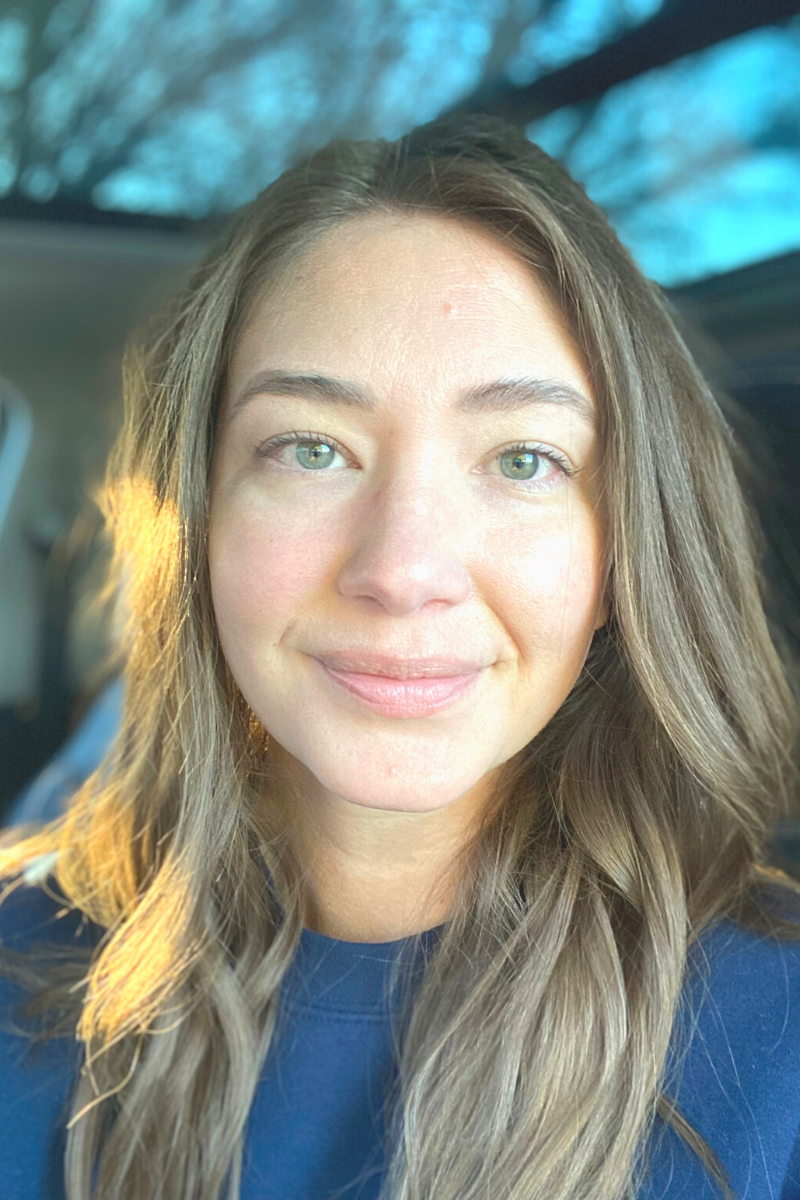
I committed to a 30 day challenge to see if they really perform. Here is my face on day 1. Not the best picture, but I knew I was going to start the challenge that night, so took advantage of the natural lighting outside. I will say, I have a pretty strong RBF, so my 11’s and forehead lines are NOT as prominent as others - I get that, but keep reading to see what happened.
First thing - I had to figure out how to apply these suckers. I watched a couple YouTube videos (linked here!) of the CEO applying them with her tips and tricks. Basically, you pull the pieces apart into small triangles (the edges are perforated for easy tear-offs), you dampen the shiny side and swirl your finger around to activate the adhesive, wait a few seconds to let it get tacky, and then apply to your face as you smooth our your wrinkles. It’s way easier than it sounds. In the morning, you soak them and slide them off. A good thing to note is the adhesive is plant based and also gluten free!
Day 1 - January 9th, 2023
Day 7 - January 16th, 2023
So, after one week, I could definitely see positive results. Honestly, after the first night, I could see results, however, that first week, the results didn’t last throughout the day. On a plus side - my very sensitive skin did not break out one bit from these patches - that was a top concern and honestly why I didn’t try them sooner.

Top image is my before picture
Day 15 - January 24th, 2023
So, about 2 weeks into the challenge, we had an unexpected snow day. Instead of taking the patches off first thing in the morning like I usually do, I kept them on all morning and into the afternoon. When we went to ride our 4-wheeler through the snow, the patches kept my forehead nice and toasty. My skin was LOVING IT. The longer you can keep them on, the better results you will see.
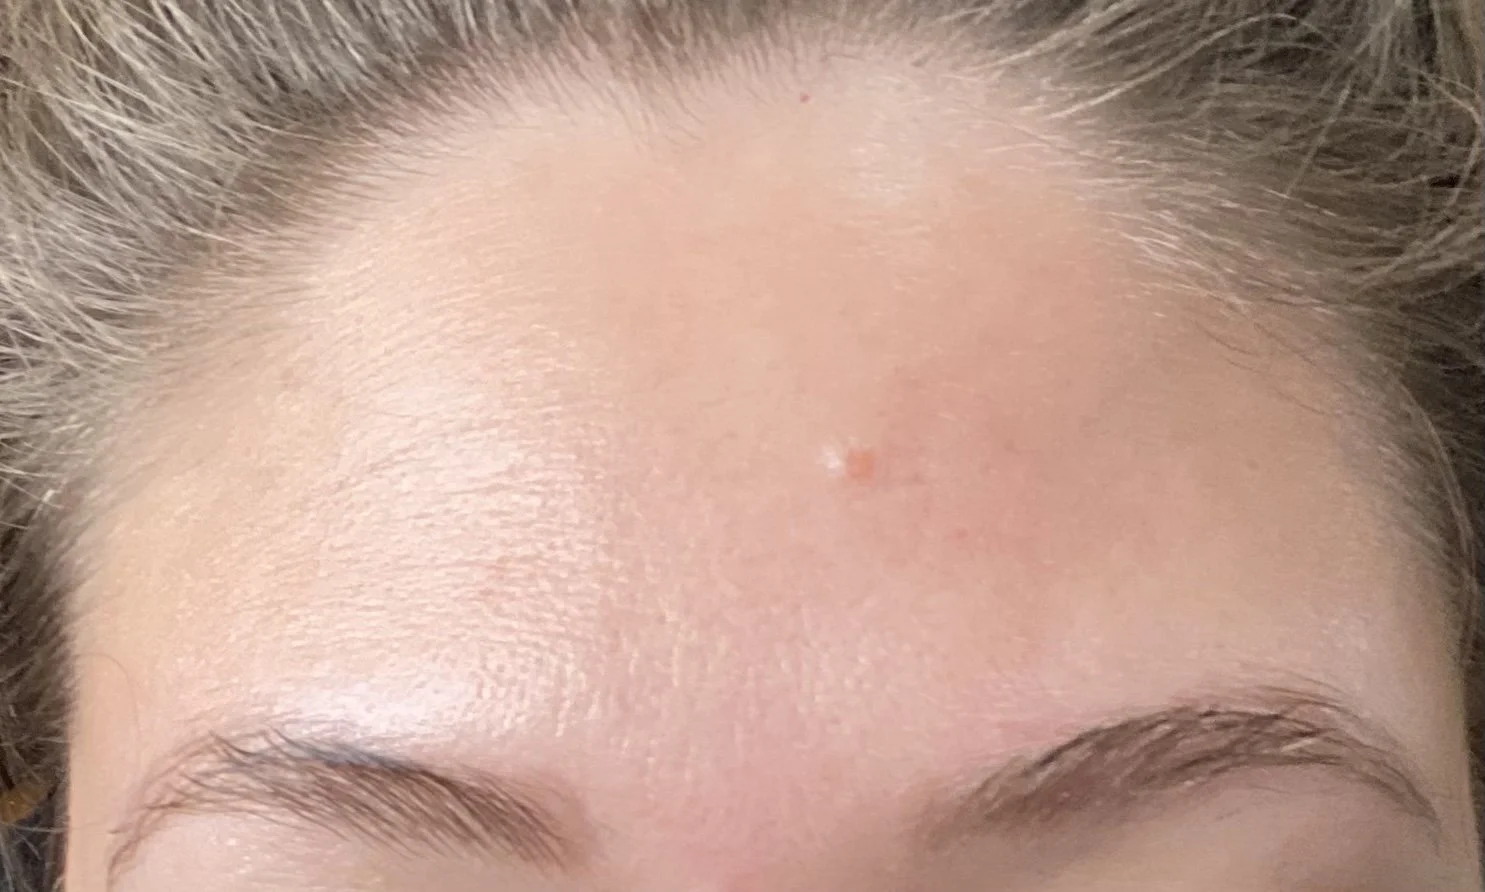
Day 30 - February 7, 2023
I am loving my results! You can definitely see the area between my brows and to the right of my beauty mark have lightened and are less noticeable.

Top image is my before picture.
The Verdict Is In
The patches DEFINITELY work…on the forehead. I did try the ones that are supposed to help with the frown lines around the mouth 2 times and I must be a rough sleeper, because I couldn’t keep them on. HOWEVER, the forehead patches are 100% worth the effort.
Tips and Tricks:
I noticed a big difference in my lines when I started using my jade roller or gua-sha stone prior to applying the patches. It helps stimulate blood flow to the area, potentially increasing results.
Do not apply serums on the areas that the patches go. If you do, wait a good 15-30 minutes before applying your patches.
I still did my usual skincare sans forehead serum and found that waiting 10 minutes to apply worked for me - you may have a different experience and need to adjust your wait time.
To get them off, cup warm water in your hands to soak them a bit. They slide off pretty easily. The first day I didn’t soak them enough and found out real quick to do that next time.
The patches come in one big strip with perforated edges for each triangle piece - break them apart! That helps them lay on your head better.
Layer them up - you do not want any space between your patches.
Do not get the patches soaking wet when applying. Just dampen with a little water.
Don’t give up - it’s taken us 20+ years to develop these lines, it’s going to take time to relax and retrain them.
So, overall, I am definitely pleased with my results. I have seen in the Frownie’s Facebook group that some people have wore them every night for a solid year and their results are quite incredible.
If you are ready to do your own 30 day Frownie’s Facial Patches, below is a link to the patches. I cannot wait to see your results! Also, keep your eyes open for another blog post about the Frownie’s skincare line that I have also been using since January…As you can tell from the before picture, my skin was dry, dull, and flaky and it’s looking much better!
